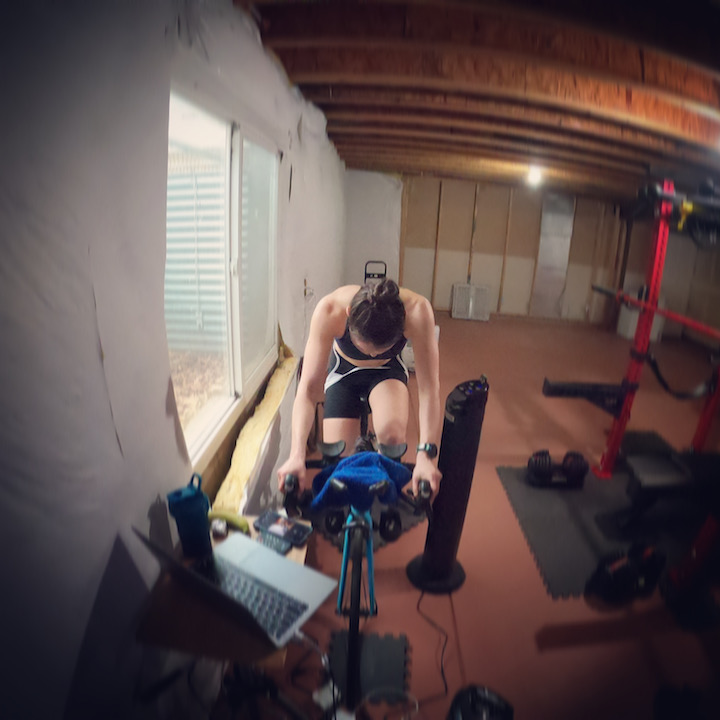
If you live in a place like the Northeast, where I grew up, or Colorado, where I live now, you likely won’t be able to ride your bike outside year-round.
Quickly – if you DO want to ride outside as long as humanly possible, I recommend a few things:
- Thermal cycling clothing. This was a game-changer for me. There are plenty of excellent options out there, but I’ve purchased an obscene amount of clothing from Pactimo (I’m not sponsored, just been very happy with their stuff).
- Lobster gloves – a must for my fellow Raynaud’s sufferers. Your fingers stay warmer when they’re in contact with each other, and these allow for shifting and braking while full mittens don’t. Here are mine (again, not sponsored).
- Hand and toe warmers. I’ll put hand warmers in each section of the lobster gloves, and I’ll stick toe warmers either under my shoe covers or on top of my feet themselves, depending on how cold it is.
- Moving to Colorado where the Sun of Ten Suns automatically adds 10-15 degrees, where humidity is nonexistent, and the cold isn’t nearly as bitter as back in Connecticut.

It’s also totally fine if you don’t want to invest in this stuff, and if it’s just not worth the hassle. It’s also perfectly reasonable to stay inside once snow and ice appear on the roads. Even if it melts later that afternoon (thanks again, Sun of Ten Suns), it’s better to be safe and avoid any hidden patches of black ice or slick spots.
In any case, there will come times when you just won’t be able to safely and/or comfortably take the bike outside.
If you want to keep up your bike fitness or continue training for your races, an indoor trainer is the way to go!
So…what do you need? What trainer should you get? What kinds are there? Where do you even begin?!
Let’s go over the basics to help you get started.
Basic Trainers
These are the least tech-y trainers of them all. They’re simple: you attach your bike to the trainer via the back wheel, and you ride. You’ll still shift gears as usual to change the resistance.
You don’t need any sort of app or virtual riding platform to use these; you can just ride. Throw on a TV show or a playlist, and spin away.
You CAN use a virtual platform as well, though. I’ll discuss these in a little more detail in the section about smart trainers, but know that you can still connect most of these trainers to a platform. You’ll have to shift to change the resistance yourself, rather than the trainer doing it for you, but you can follow a workout just the same. If you’re doing a pre-written workout in one of the apps that’s programmed using power, your trainer will estimate using “virtual power” in place of an actual power meter.
Examples of Trainers:
Garmin
Tacx Boost
Elite
Novo Force
Saris
Fluid 2 basic
Mag
What you might need in addition:
- Trainer skewer – for a bike that uses quick-release skewers, you might need a separate skewer to be able to attach the bike.
- Trainer tire – since you’re attaching the bike as is, the back wheel will be spinning as you ride, so you’ll risk wearing it out much quicker. You can purchase a trainer-specific tire to put on and save your regular tire for outdoors.
- Speed and cadence sensor – if you plan on using an app, you may need a sensor so the app can display metrics like cadence and estimate metrics like virtual power.
Always do your research on each trainer you’re looking at to see what may or may not come with the trainer, and what may or may not be compatible with your bike! You can always talk to the folks at your local bike shop, too; I’m sure they would be happy to help determine what you’ll need.
Pros:
- Simple, easy to use, and don’t require a ton of gadgets or connections to virtual platforms if you’re not interested in this.
- More affordable than smart trainers – they typically run around $180-$300.
Cons:
- If you plan on alternating between indoor and outdoor riding, you’ll have to change your tire each time, or either use your regular tire on the trainer or the trainer tire on the road, none of which are ideal and can be a pain. (If you’ll be putting your bike on the trainer and leaving it there all winter, this won’t be an issue.)
- If you want to use a virtual riding platform, you won’t have access to the feature that automatically adjusts resistance either for the workout or for the “terrain.”

Smart Trainers
Smart trainers go several steps above basic trainers in that they’ll be able to transmit power data to a device like a smartwatch, and when using a virtual riding platform, they’ll automatically adjust the resistance for you to match a programmed workout or “terrain” changes. You don’t have to shift at all.
When deciding if you want a basic or smart trainer, you might first consider if you’ll definitely be using one of these platforms, and which one. If you won’t be, a basic trainer is the way to go. If you will be, let’s look at a couple of the most popular ones:
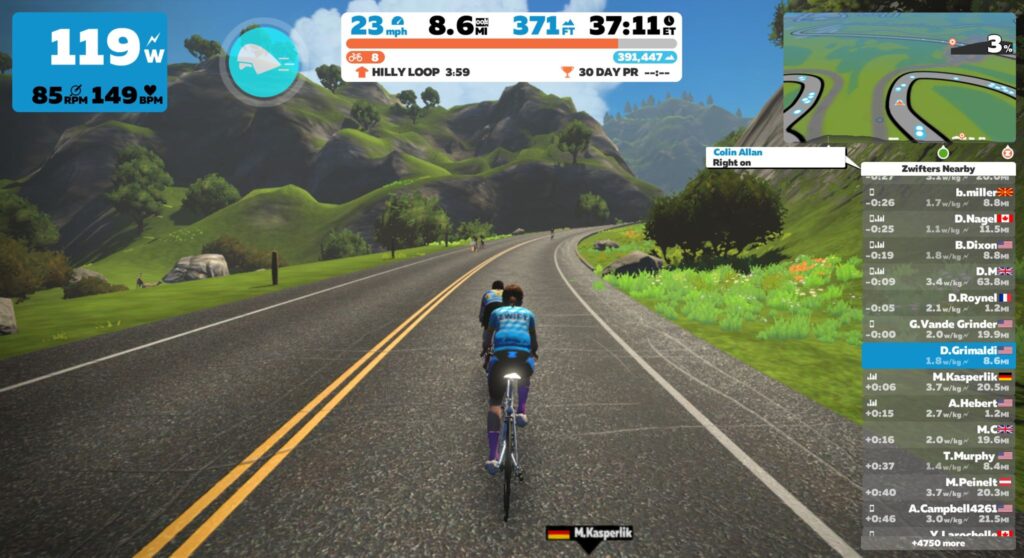
Zwift is like a video game; you and your bike are an avatar in a virtual world, and you’re riding amongst hundreds of other avatars that are real people using Zwift all over the actual world. You can interact with these riders and even compete in virtual races put together by Zwift. There are many course options, and you can choose to just ride a course and let the trainer adjust the resistance as you go up and down “hills.” You can also do pre-programmed workouts, and here, you can either continue to let the trainer change the resistance for you, or you can choose to switch modes and shift yourself so that you can focus on the workout and not have to deal with any changes in elevation.
Since one of the most attractive features of Zwift is its ability to simulate these terrain changes as if you were riding outside, a smart trainer may be the best choice.
Similar platforms, some of which include simulations of actual triathlon courses: Rouvy, Fulgaz
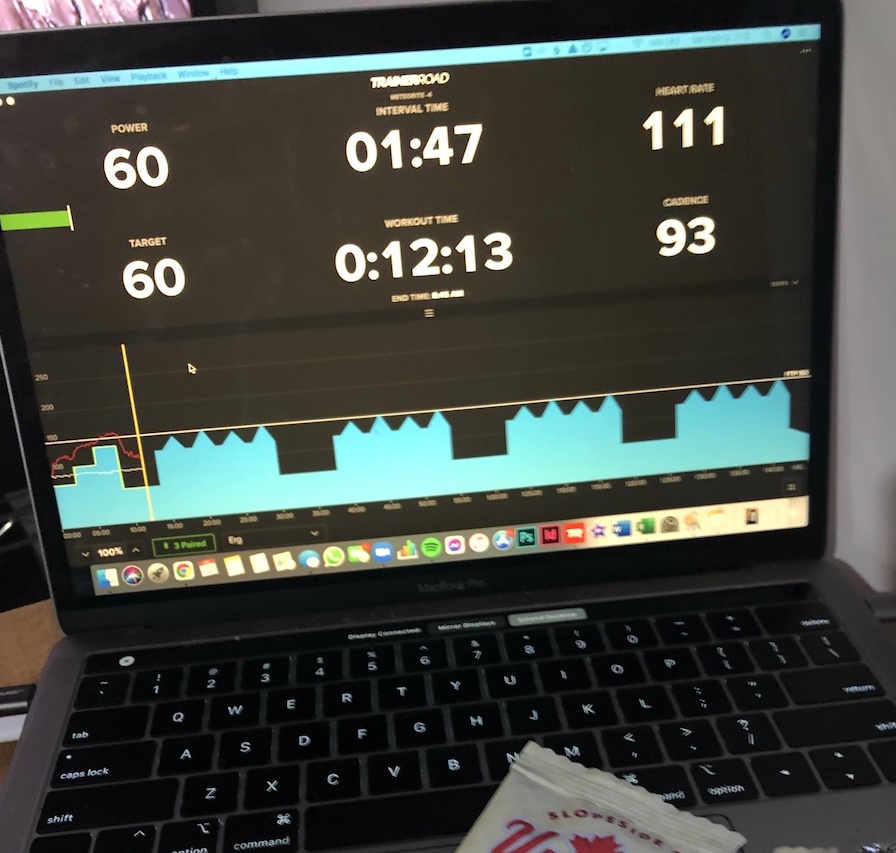
TrainerRoad, on the other hand, supplies pre-programmed workouts without the video game-esque scene or any terrain changes. There’s simply a workout up on your screen, and many of them have on-screen instructions throughout the session. It’s a simpler option for those who don’t want all the bells and whistles that come with Zwift; maybe you just want to do your workout, watch your show in the background, and that’s that. The workouts are interval-based and range in length and intensity, so you can really focus on maintaining a certain power. Since the trainer adjusts for you, it’s like a treadmill; you’ve got to hold that pace. I personally use TrainerRoad; I’ve tried Zwift a couple of times and just found I preferred the simplicity of TrainerRoad and its versatile and challenging workouts.
I also used TrainerRoad for several years with a basic trainer, shifting the gears myself to match the prescribed virtual power outputs, so know that a basic trainer will work just fine if you prefer this platform.
Similar platform that also includes workouts for other activities outside of cycling: Wahoo SYSTM
These platforms are subscription-based, typically ranging from $15-$20 per month.
Types of Smart Trainers
Basic trainers are only available in one form, which has you attach your back wheel to the trainer as I described. For smart trainers, though, there are a few options.
One option IS the wheel-on setup, which is the same as basic trainers.
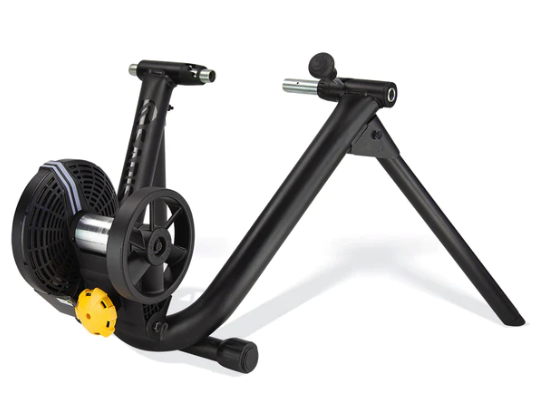
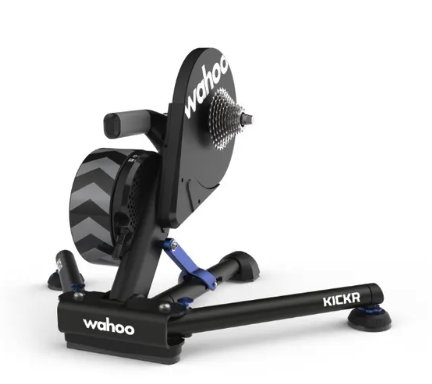
A second option is direct drive trainers, for which you’ll remove your back wheel completely and attach your bike’s chain to a separate cassette that’s on the trainer. Some of these trainers come with a cassette, so you may or may not need to purchase one separately. You’ll also want to ensure the included cassette is compatible with your bike, and purchase a different one if not (for example, the cassette included with the trainer is an 11-speed but your bike needs a 12-speed).
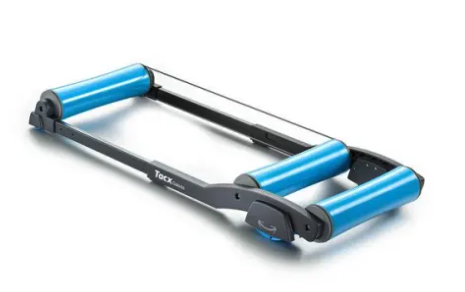
A third option is rollers, which I haven’t used myself and wouldn’t recommend if you’re just getting into indoor riding, so I won’t touch any more on these. Essentially, your bike isn’t held in place, so only your pedaling keeps you upright.
Examples of trainers:
Wahoo
Kickr Move (direct drive)
Kickr (direct drive)
Kickr Core (direct drive)
Kickr Snap (wheel-on)
Garmin
Tacx NEO 2T (direct drive)
Tacx FLUX 2 (direct drive)
Tacx FLUX S (direct drive)
Tacx Flow (wheel-on)
Zwift
Hub (direct drive)
Elite
Justo (direct drive)
Directo XR-T (direct drive)
Suito-T (direct drive)
Tuo (wheel-on)
Saris
H3 (direct drive)
M2 (wheel-on)
Fluid 2 smart (wheel-on)
What you might need in addition:
- Trainer skewer for wheel-on trainers – for a bike that uses quick-release skewers, you might need a separate skewer to be able to attach the bike.
- Trainer tire for wheel-on trainers – since you’re attaching the bike as is, the back wheel will be spinning as you ride, so you’ll risk wearing it out much quicker. You can purchase a trainer-specific tire to put on and save your regular tire for outdoors.
- Cassette for direct drive trainers if it doesn’t come with one or if you need a different size.
Again, always do your research, or ask for help! The folks at my local bike shop were super helpful when I transitioned to using my triathlon bike instead of my road bike on my trainer, since I had to set it up with a new cassette and make it compatible with my thru-axle attachment instead of quick-release.
Pros of wheel-on smart trainers:
- Wireless connection with an app or training platform, and automatic resistance changes.
- More affordable than direct drive trainers – they typically run around $300-$400.
Pros of direct drive smart trainers:
- Wireless connection with an app or training platform, and automatic resistance changes.
- No need to purchase a separate trainer tire or worry about wearing out your wheel.
- Easy transition between indoor and outdoor riding.
- Quieter than wheel-on trainers.
Cons of wheel-on smart trainers:
- Same as basic trainers: If you plan on alternating between indoor and outdoor riding, you’ll have to change your tire each time, or either use your regular tire on the trainer or the trainer tire on the road, none of which are ideal and can be a pain. (If you’ll be putting your bike on the trainer and leaving it there all winter, this won’t be an issue.)
- More expensive than basic trainers.
Cons of direct drive smart trainers:
- More expensive than basic trainers AND wheel-on smart trainers – they can run from $700-$1,600 depending on the model and its features.
Which one should you get?!
Well…it’s up to you, your budget, and what you’re looking for!
Do you know you only want to spend X amount? That could narrow it down right off the bat (though, Black Friday sales are already appearing, and you could always look for a used one).
Will you only be watching TV and don’t want to deal with a platform or much technology? A basic trainer would fit your needs.
Will you be taking the bike on and off the trainer regularly? Do you want the quietest option? Are you worried about wearing out your tire or wheel? Direct drive might be the best choice.
Do you know you’re going to use Zwift? Their trainer may be a good option since it comes with a 1-year membership and is ideally seamlessly compatible with that platform.
The trainers I listed here are not your only options, of course. Do some research yourself, especially if you want to get into the finer details like noise, exact compatibility with your bike, and more!
I will say, based on my personal experience, going for a direct drive smart trainer (I have the Wahoo KICKR) was a fantastic investment. Yes, it was expensive, but worth it; I really haven’t had a single issue with it in three years.
The wheel-on trainers I’ve had have been fine, they’ve just definitely worn out tires much quicker. At one point, the threads inside my tire actually snapped, causing what I referred to as a “tire tumor” to appear and force the end of one of my rides.

Plus, I very much enjoy being able to take off my back wheel and attach my chain directly to the trainer, and it really is impressively quiet compared to the wheel-on ones.
Anything else you might need for indoor riding, no matter which trainer you choose?
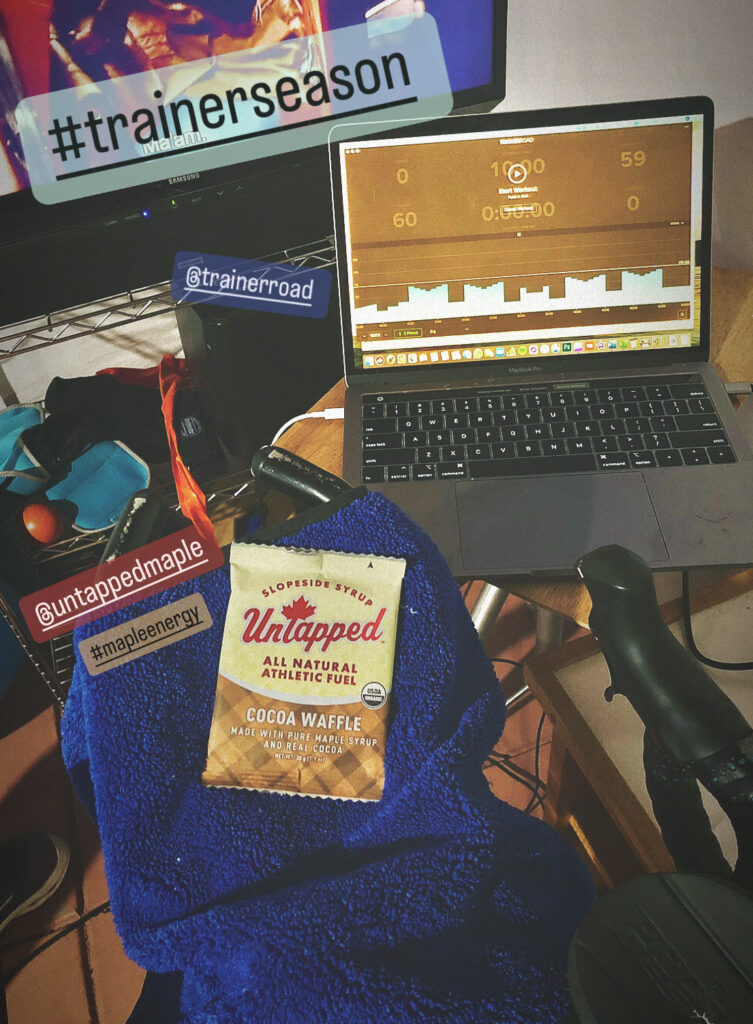
- A desk or table of some sort for a laptop or device, extra water bottles and food, and anything else you might need while riding.
- A towel – be prepared to sweat!!
- A fan – to help with the aforementioned sweat!
- Discipline and determination. Spinning your legs in one spot for hours can be more of a mental challenge than a physical one at times!

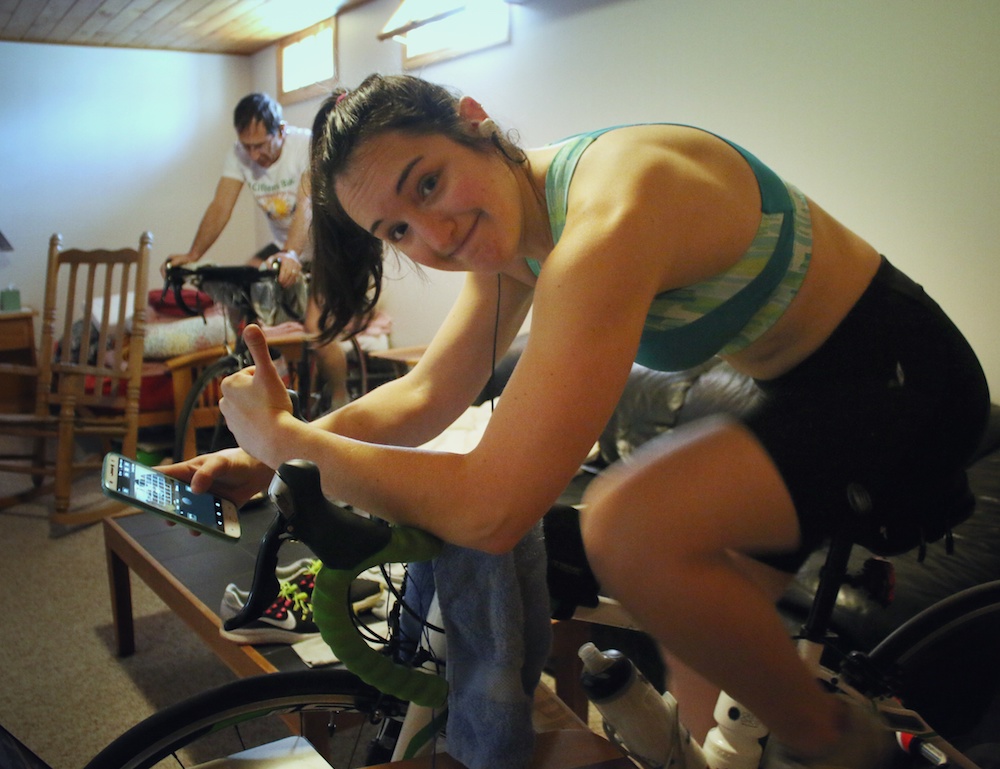
Hopefully, this answered some of the questions you had or cleared up any confusion about indoor bike trainers!
It’s a lot of information, but I hope you’re able to take what you’ve read here and use it to make a decision about what trainer and/or virtual riding platform will work best for you.
Happy indoor riding!
-Dina
Dina Grimaldi is a triathlon coach, nutrition coach, & personal trainer who helps athletes reach their goals while finding the balance they need to fit training comfortably into their lives; who guides those with nutrition or health goals to cultivate a lifestyle of sustainable habits and a healthy relationship with food; and who supports others through functional strength training and performance to become strong, healthy, and confident individuals throughout their lives.
